Painting Piano Keys
Color Everything
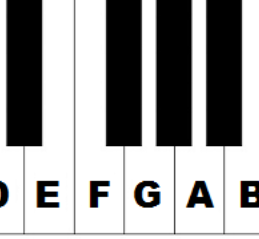
After coloring sound, and sheet music, one thing I’m still often having issues with is hitting the wrong note while playing the piano. The pattern of the black keys piano helps a bit to orient, but especially G and A are just one inferential step too difficult for me to tell apart at a glance quickly.
The solution in the spirit of coloring as much as possible is clearly to paint the piano’s keys!
Strategy (~2h)
I had some acrylic paint and colored stickers available, so before spending too much time planning, I just tried them out for a few days.
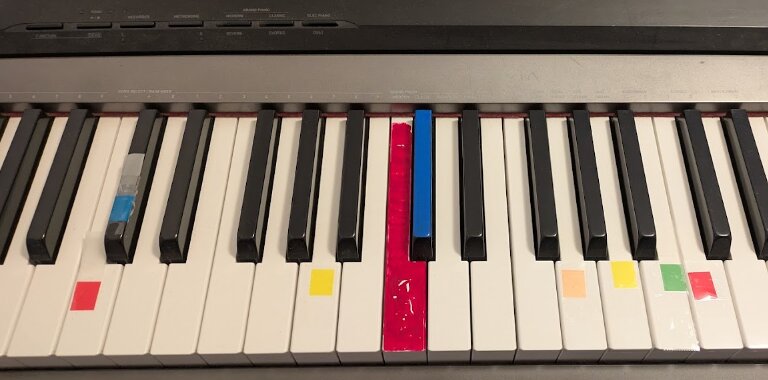
This experiment was not sufficient to decide on which way to go, so I tried a more structured approach.
Requirements
The piano needs to be colored in a way that it:
- Has accurate colors easily available
- Looks good
- Feels good to the touch
- Can withstand the constant hammering of the fingers, possibly sweaty and with long nails
- Is non-toxic
Coloring methods I considered were acrylic paint + varnish, nail polish, or colored stickers.
| Target | Acrylic | Nail polish | Stickers |
|---|---|---|---|
| Color Accuracy | ✅ | ❌ | ❓ |
| Look | ✅ | ✅ | ❌ |
| Feel | ✅ | ✅ | ❌ |
| Durability | ✅ | ❌ | ❓ |
| Non-Toxicity | ✅ | ✅ | ✅ |
For nail polish it was difficult to find specific colors and it was not clear whether or not the coating would chip after a short while as it appears to do on fingernails. For stickers there was a lot of uncertainty about look, feel, and whether it would be easy to cut them to the correct shapes of the white keys, maintaining alignment without edges hanging over the keys.
Acrylic Paint
Acrylic paint seemed the most promising, but how to make it stick and not chip off?
The consensus on the web seemed to be that plastic is a difficult surface to paint on. In case of piano keytops, the plastic used is apparently often an ABS polymer.
In fact, the tabletop miniature model painting community has solved most of these problems already and they have compiled a trove of best practices, reports on individual paints, primers and other materials.
So, going against the old wisdom of weeks of trial and error can save you hours of research, I just decided to follow all their recommendations.
For piano keys, which are exposed to significant stress when played, the following plan emerged:
- Sanding of all keytop surfaces
- Degreasing using alcohol disinfectant
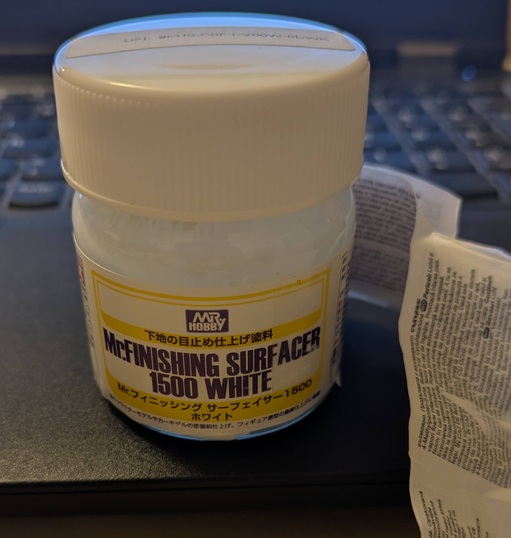
- Mr. Finishing Surfacer 1500 primer
- Several layers of acrylic paint on each key
- Three layers of polyurethane acrylic varnish
Also, I didn’t want to disassemble the piano claviature into individual keys because I didn’t want to have to re-lubricate all keys. So the entire process would have to be done in place.
Choosing the Colors (~2h)
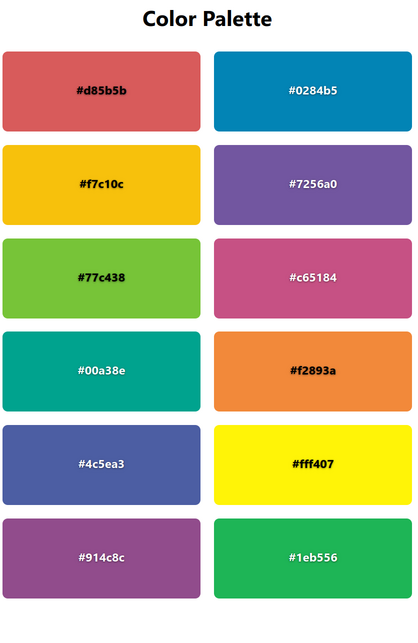
Selecting colors to match the pitch colors from pitchvis (palette image). In the end I settled on colors available in small quantities, trying to have to do as little mixing as possible.
I ordered a mixed and varied selection of colors. Some were glossy, some more pasty.
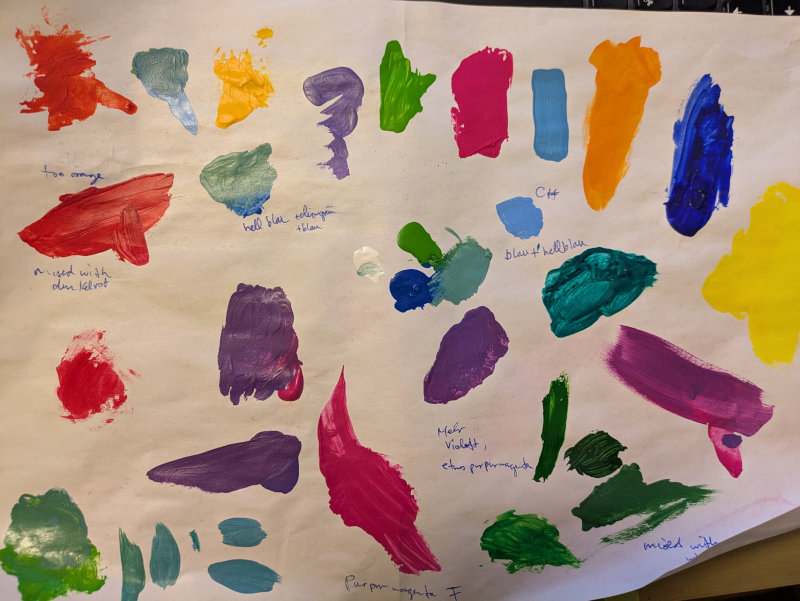
Once the colors arrived, a test gave some indicators on a follow-up order to be able to mix some remaining difficult colors. It was a bit tricky to find a solution for Eb, Bb and F which are similar in hue, to make them distinguishable enough.
The F# turquoise seemed to have been mislabeled. While all other paints from this brand seemed true to the hue on the label, this one was off point. The pitch F# which in the pitchvis app is unnaturally bright for a dark blue-green turned out to be the most difficult one to get right.
Luckily, my sister brought a grab bag of mixed colors, and an almost perfect magical turquoise color was included that could be brightened with white paint to give a nice F#.
Process
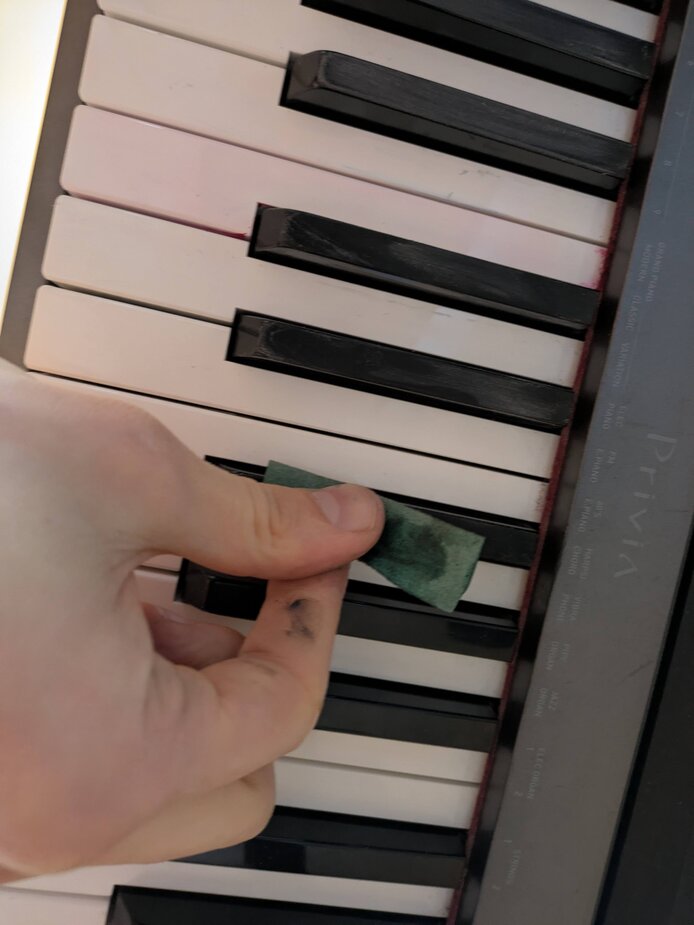
Sanding (~40m)
Wet sanding to keep the temperature low because ABS is a thermoplastic. Around 30minutes for two people. Piano upside down to prevent the slurry residue from entering the gaps between the keys.
Priming (~30m + 4h of drying)
The Mr. Finishing Surfacer is a vile substance that smelled terrible even though the piano was placed on the windowsill of the opened window. It also dries very quickly, so we had to work quickly. Apart from that, the primer is easy to work with in undiluted form, and there was no spillage except for a few spots on the glove and besides the primer container.
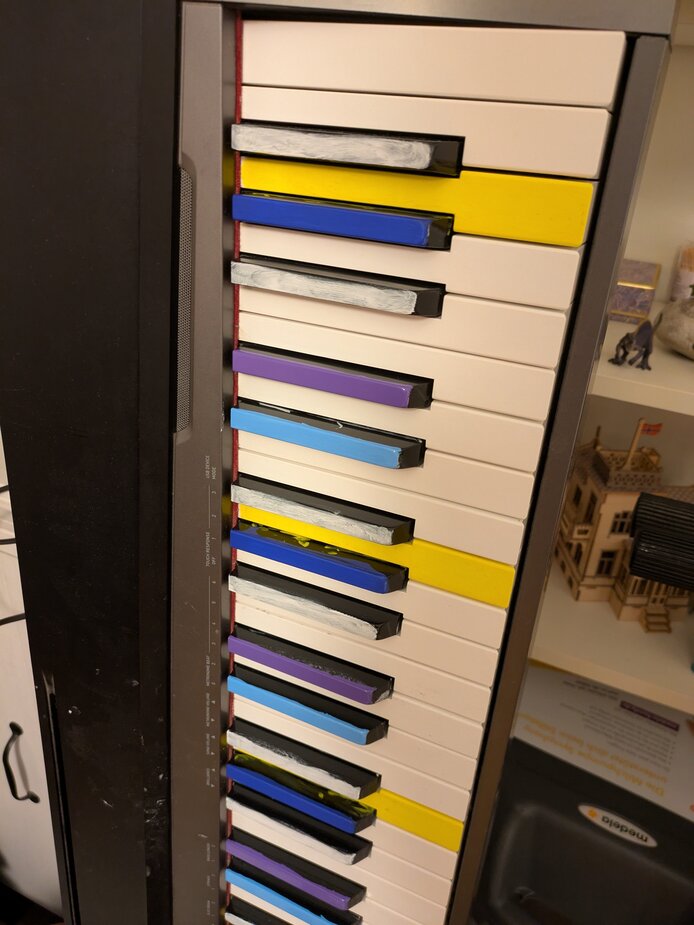
Painting the Keys (~3h + 24h of drying)
Acrylic paint is a joy to work with. Wide, flat brushes worked best to apply an even coat.
Each color was diluted with around 10-40% of water to give a liquid consistency. The glossy paints that were already liquid were the easiest to work with.
Mixing went surprisingly well. Mixing with white also worked nicely to produce a lighter, more pastel color.
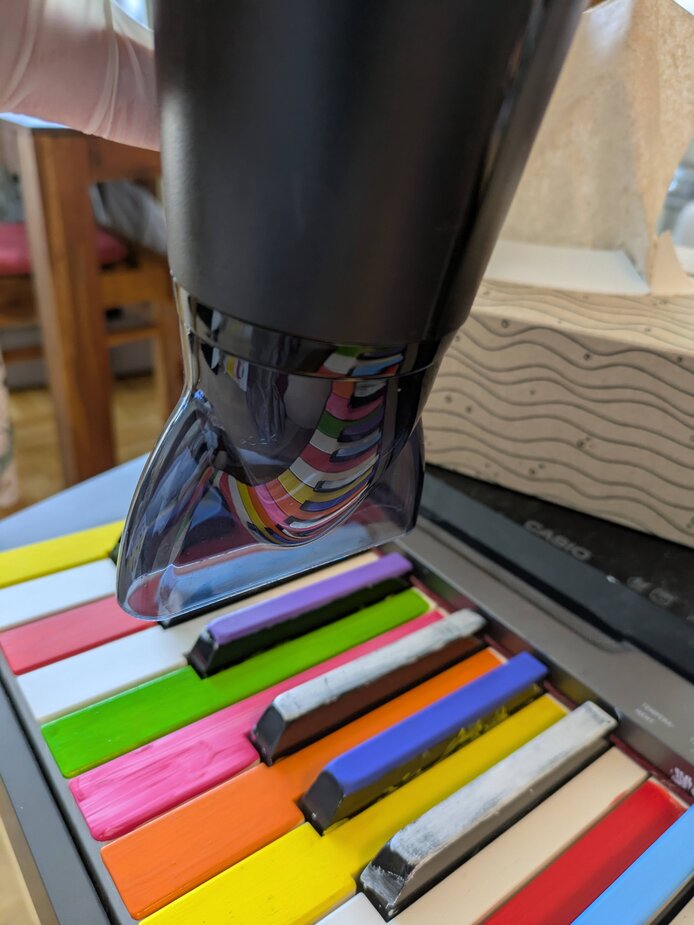
I decided to paint pitch by pitch, finishing all keys of one or two pitches before moving on to the next ones. This way, the mixed paints wouldn’t dry out and there would be no re-mixing necessary. Also, the thin layers of acrylic seemed to dry very quickly and I believe that they would still polymerize and cure fully even when layered with more fresh coats on top. For quicker drying a hairdryer was useful, with heat set to low.
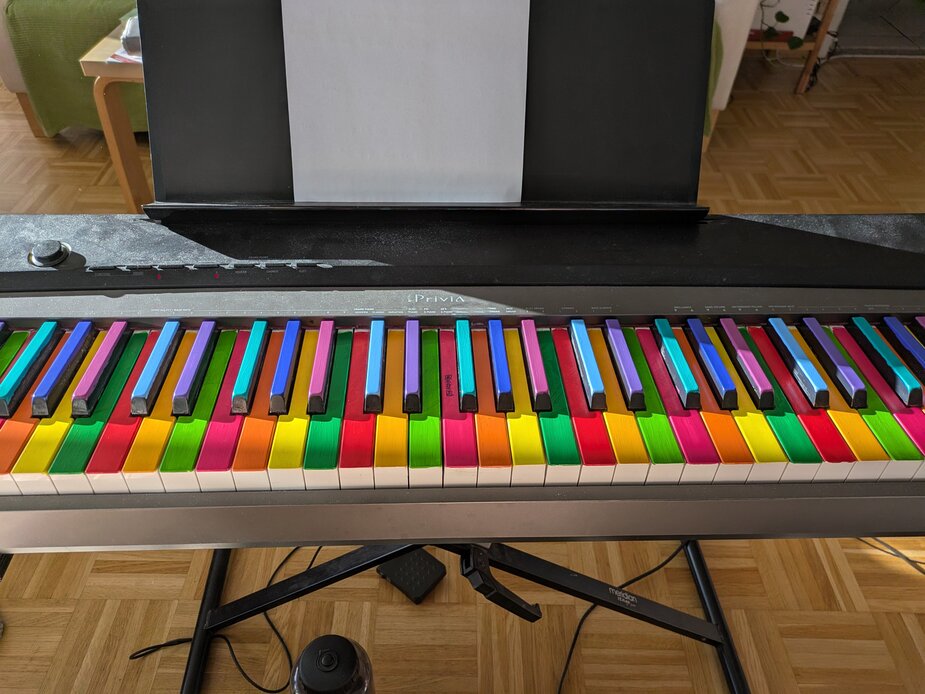
It already began to look quite nicely.
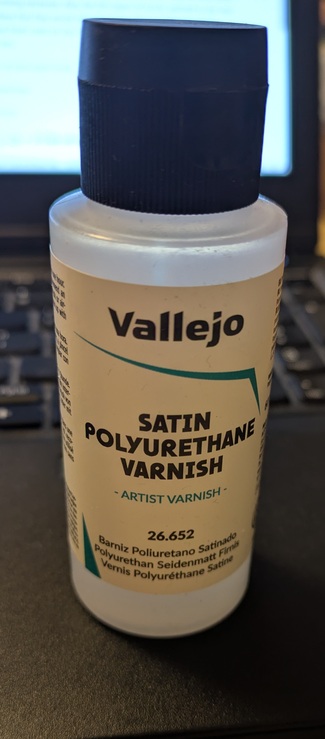
Varnishing (~2h + 3*24h of drying)
Rumor on the internet has it that glossy varnish is more durable, but I learned that too late, and some people also say it doesn’t make a difference. So I went ahead with the satin varnish I had already bought.
I applied three layers of Polyurethane satin varnish, always leaving 16-24h after applying the previous layer of paint/varnish. This is more or less in line with what was printed on the bottle.
The varnish smelled worse than the acrylic, but much better than the primer. On the days where the temperature was not too cold, I applied the varnish outside.
Between coatings, I stored the piano in a warm room with a ventilation duct that draws the air outside.
After the final dry, it turned out that some varnish had gotten in the gaps between some of the white keys. Luckily, the undiluted varnish was viscous enough to have dried halfway down or near the keytops and it was easy to clear the gaps using a small screwdriver.
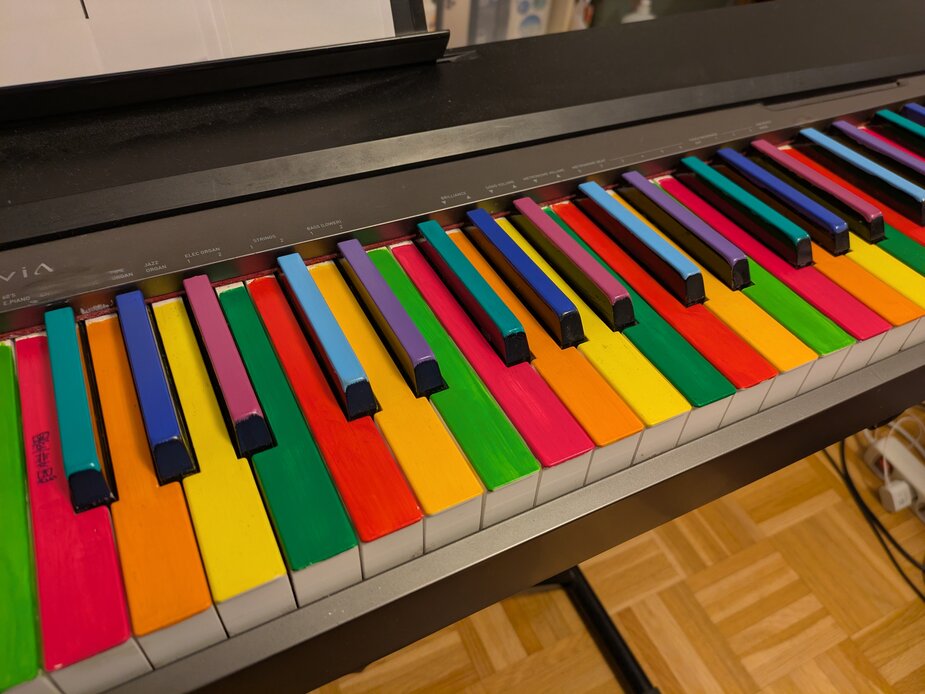
Clean-up of Black Key Sides
Unfortunately, there were quite a few stains on the sides of the black keys. At this moment I really wished I had used some painter’s tape to tape off the sides of the black keys.

Using acetone nail polish remover was not a good solution. It worked badly, smelled very unhealthy, and you have to be very careful not spill a drop on the paint and ruin your work.
A flat-tipped screwdriver, carefully but resolutely applied, worked well for color patches also covered with varnish, these then peeled off easily. I had to turn the piano sideways again, which was tedious but kept the residue from dropping in between the keys.
A black permanent marker was the simplest, quickest and cleanest solution and good enough for masking colored patches. The dried primer somehow made the pen stop painting, so the primer patches got some more screwdriver treatment in the end.
Results and Lessons Learned
Painting is a meditative activity! This was a fun project for a weekend and gave this old piano some new life. It’s a joy to play on it.
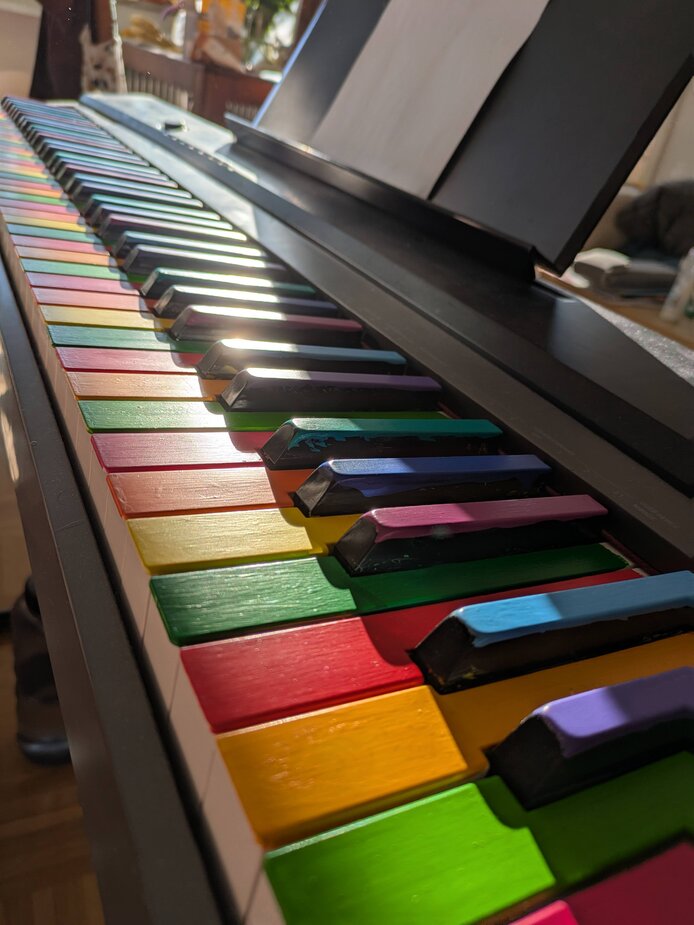
Due to the different paints and dilution ratios used each key has its unique feel. Some are very smooth and have a strong non-slip and grippy feel, similar to the original plastic keytops. Others are more textured and rough. Conveniently, this is constant within individual pitch classes, so the good thing is that pitches can now also be distinguished by touch!
After one month
There has been some small chipping at the bottom edge of the white keys. Maybe there was no primer applied or the key edge not cleaned well. Besides that everything is still great and holds up perfectly.
Lessons learned
- Protect the sides of the black keys with some painter’s tape.
- Apply primer while wearing a respirator, or at least outdoors and with a fan. The solvents did not smell healthy.
- Thin the paint more, at least for upper paint layers. The E note is quite rough and you can feel the texture through the varnish
- Shake the varnish more, maybe add a small metal bead to the bottle for more efficient shaking. People on the Internet were really adamant that it needs to be well shaken, even for liquid varnish in a bottle.
- The glossy liquid colors gave the smoothest finish, similar to the original plastic surface. The yellow/green shades were the chunkiest and did not turn out smooth.
- I have yet to check with a professional pianist what they think of the haptic feel of the keyboard.
What comes next? What else could be colored?